Why the Gluteus Medius Matters in Rehabbing From Back or Knee Pain

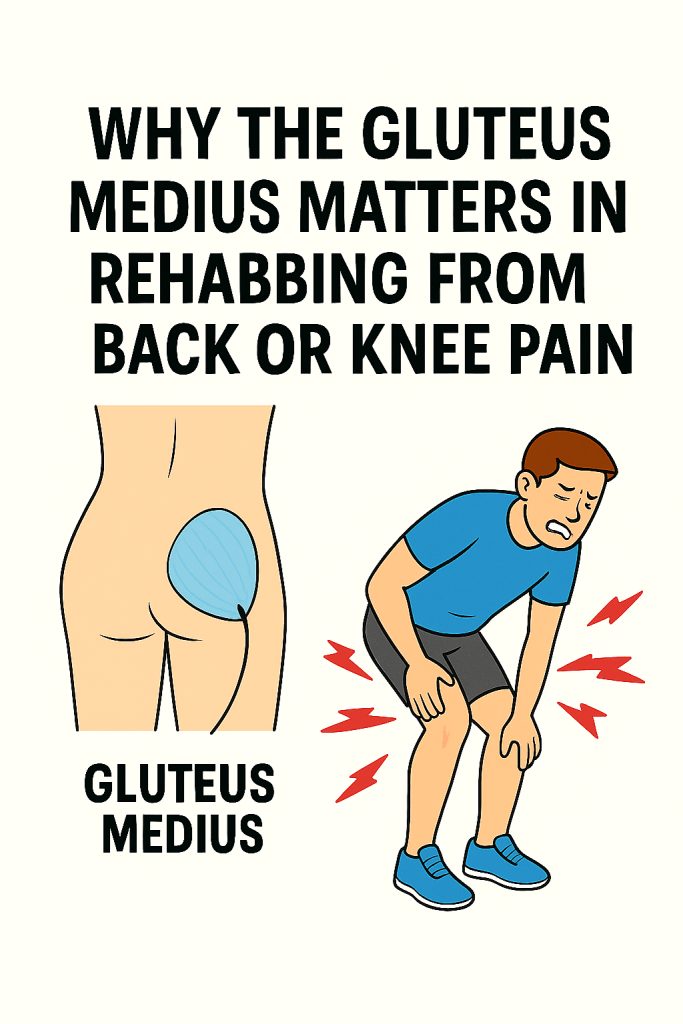
Knee pain and low back pain often trace back to the same culprit: poor gluteus medius function. When this muscle isn’t firing well, the knee can collapse inward (valgus), stressing the joint and contributing to patellofemoral pain. At the same time, an underactive glute medius fails to stabilize the pelvis, forcing the lower back and surrounding muscles to take on extra work—often aggravating pain instead of easing it.

That’s why the gluteus medius is such a key player in both injury rehab and long-term resilience. Let’s look at what it actually does, and which exercises best restore its strength and stability.


🔑 Key Functions

Hip Stabilization (especially when standing on one leg)
The gluteus medius helps keep your pelvis level when you walk, run, or stand on one leg.
Without it, your pelvis would “drop” on the unsupported side—a condition called Trendelenburg gait.

Lateral Stability & Balance
It acts like a side anchor, keeping your hips, knees, and ankles in good alignment.
This protects against wobbly knees, ankle rolling, and inefficient force transfer when moving.

Hip Abduction
Moving your leg out to the side (like in side steps or kicking outward) is primarily the job of the glute med.
It also helps rotate the hip outward and inward depending on leg position.

Joint Health & Injury Prevention
A weak glute med often shows up as knee pain, IT band issues, or hip discomfort.
Runners, lifters, and athletes especially rely on it to prevent overloading other muscles and joints.

Athletic Power & Efficiency
Strong glute medius = better agility, cutting, lateral shuffling, sprint mechanics, and force transfer.
It’s a hidden powerhouse for acceleration and deceleration.

👉 In short: the gluteus medius keeps you upright, balanced, and protected, whether you’re just walking down the street or cutting hard on the basketball court. It’s a stabilizer first, mover second—and that’s what makes it so essential.


🏋️ Exercises to Strengthen Your Glute Medius

Here are three of the most effective exercises to strengthen your gluteus medius. They’re simple, but if you load or sequence them right, they hit hard:


1. Side Plank with Hip Abduction (Hold Variation)

How: Start in a side plank on your elbow. Lift the top leg just a few inches and hold it there for 5–10 seconds before lowering.

Tips:

  • Keep hips stacked and core engaged so you don’t rotate forward or backward.
  • Focus on stability, not just swinging the leg.

Why: Builds glute med strength while training it in its stabilizing role, which carries over more directly to real-life movement.

Note: Variations like clamshells with a band or banded side planks are also great for learning to activate and stabilize the glute med.


2. Banded Lateral Walks (a.k.a. Monster Walks / Side Steps)

How: Place a resistance band around your thighs (just above knees or ankles). Get into an athletic quarter-squat and take wide steps sideways.

Tips:

  • Keep constant tension on the band (don’t let your feet snap together).
  • Stay low to keep glutes engaged.

Why: Teaches hip stability and strengthens glute med under load—fantastic for runners and athletes.


3. Single-Leg Glute Bridge / Hip Thrust

How: Lie on your back, one foot planted, the other lifted. Drive through your planted heel to lift hips off the ground.

Tips:

  • Actively keep hips level (don’t let one side sag).
  • Squeeze glutes at the top, control on the way down.

Why: Forces the glute med to stabilize pelvis while the glute max drives extension—mimics real-life one-leg stance mechanics.

Note: For those working with a coach or therapist, more advanced drills like the DNS star can build even deeper coordination, but most people will benefit from starting with these simpler exercises first.


Bonus progression: Once you’ve mastered these, add Bulgarian split squats or single-leg Romanian deadlifts. They hit the glute med hard as a stabilizer in functional patterns.


✅ Conclusion

Strong gluteus medius muscles don’t just build athletic power — they protect your joints, improve balance, and keep everyday movement smooth and pain-free. Whether you’re rehabbing from low back or knee pain, training for sport, or just looking to feel stronger on your feet, a little focused glute med work goes a long way.

Hip Airplane: Stop Letting Your Back Do Your Hips’ Job

What It Is

  • Category: Dynamic stability + active mobility drill
  • Focus: Strengthens glute medius/max, deep hip rotators, and core while actively improving hip internal/external rotation range.
  • Why It Works: You’re balancing on one leg, hinging forward at the hips, and then rotating your pelvis open/closed—forcing the stabilizers to work while moving through controlled ranges.

Why It’s Great for Stability + Mobility

  • Stability: Trains the glute medius to hold the pelvis level while dynamic movement happens above.
  • Mobility: Opens and closes the hip capsule actively, increasing usable rotation range (critical for deep squats, lunges, kicking, and acro).
  • Balance: Challenges proprioception
  • Core–hip connection: Forces the obliques, core and back muscles to stabilize the spine while the pelvis rotates.

How to Do Hip Airplanes

1️⃣ Setup

  • Stand tall on one leg (soft bend in knee).
  • Hinge forward from the hips into a single-leg RDL position — back leg extended behind you, torso roughly parallel to the ground.
  • Arms can go out like airplane wings for balance, or hands on hips to feel your pelvic rotation.

2️⃣ Movement

  • Open: Slowly rotate your chest and pelvis outward, so your hips are “stacked” (standing leg hip moving into external rotation).
  • Close: Rotate your chest and pelvis inward, so your hips are “square” or even slightly past square (standing leg hip moving into internal rotation).
  • Keep the knee of your standing leg pointing forward—don’t let it drift side to side.
  • Move with control, pausing briefly in each position.

3️⃣ Reps & Tempo

  • 3–5 reps per side, each rep being open → closed → back to open = 1
  • Slow and controlled: ~3–5 seconds each way

Key Cues

  • Hinge, don’t twist the spine → all the rotation happens at the hip socket.
  • Standing leg stays strong → slight bend, knee over mid-foot.
  • Foot tripod → big toe, little toe, and heel stay grounded.
  • Think of “rotating your belly button” rather than swinging the leg.

Link to Back and Hip Pain

Back pain

  • Limited hip rotation or poor pelvic stability forces the lumbar spine to rotate more than it should, creating micro-twists with every step or bend.
  • Hip airplanes build rotational strength and mobility at the hip, reducing the need for your low back to compensate.

Hip pain

  • Weak glute medius/max can shift excess load onto the hip flexors, adductors, or deep rotators, leading to overuse and irritation.
  • Controlled rotation in hip airplanes improves joint alignment and muscular balance, which can reduce discomfort—especially in mild impingement cases (avoid during acute flare-ups).

The Basics of Physical Therapy: What I Tell My Patients Most Often

Disclaimer: With this and any other blog post, please note that nothing written here is a substitute for getting specifically tailored advice from a specialist/provider.

Much of the physical therapy information I share with patients comes from Dr. Aaron Horschig of SquatUniversity.com. While the information is geared towards lifters, I find his information to be well researched and widely applicable.

The main idea is that pain often comes down to mobility and stability issues that can be corrected over time with consistent use of proper stretches and stabilization exercises.

While specific evaluation of a patient is necessary to gear a treatment plan for someone, there are some broadly applicable themes for most cases.

Let’s look at the shoulder for instance. Stiffness and tightness around the shoulders might be due to stuck or spasmed muscles around the shoulder such as the trapezius (trap) or latissimus dorsi muscles (lats). Alternatively, you might be dealing with the very common issue of under-trained or underactive rotator cuff muscles, which are meant to stabilize the shoulder joint.

It’s entirely possible to have both going on at once. If so you might practice different mobility/stretching work for the shoulders first, or even a foam roller lat release. Then after your body is moving properly, you might practice some kind of external rotation stabilization exercise at the shoulder, making sure to pause for at least 5 seconds at the most challenging part of the movement.

Essentially certain prime movers/big muscles can often overpower our smaller stabilizer muscles.

So first we work to loosen up these overpowering muscles before getting the stabilizers to do the job they were meant for. It’s important to note that pure strength of the stabilizers is not the goal. We need the body to get into this subconscious habit of turning on the stabilizers when we move, not to just contract them strongly with specific exercises, and be ignored otherwise.

Often the progress is a combination of fast and slow. It’s fast because when you get the right combination of exercises, and properly mobilize and stabilize the shoulder joint, you can do relatively light weight pain-free movement immediately in some cases. However, the pain will likely return automatically without consistent effort to retrain the body into this new mode of movement.

Another common painful area that can respond well to physical therapy is the lower back. However, the lower back can be more complex to evaluate and treat. The root of the problem might originate all the way down at the foot—or anywhere in between, especially the ankles, knees, or hips.

The overall principles are the same though: evaluate which areas aren’t moving properly, and then what stabilizer muscles aren’t activating properly, loosen/move the former and train the latter, usually in a more static movement-resisting fashion.

There are a couple different options for making this information more specific to you. Squatuniversity.com has a ton of videos all over the internet you can search for that go over specific problem areas, so that’s an easy way to get started looking into your own challenges. You can always work directly with a physical therapist on these issues. I’m also happy to point you in the right direction during our sessions.

Feel free to send me a text at 919-809-9355 to get started.